- WEMScontroller3.
- Run Channel Setup Wizard To Configure Analogue Outputs.
- Run Channel Setup Wizard To Configure Analogue Inputs.
- Run AHU Discover Wizard.
- Configure AHU Control Points.
- Assign A Schedule To The AHU.
This guide covers the first-time setup of an AHU, and assumes that a WEMScontroller3 has already been through .
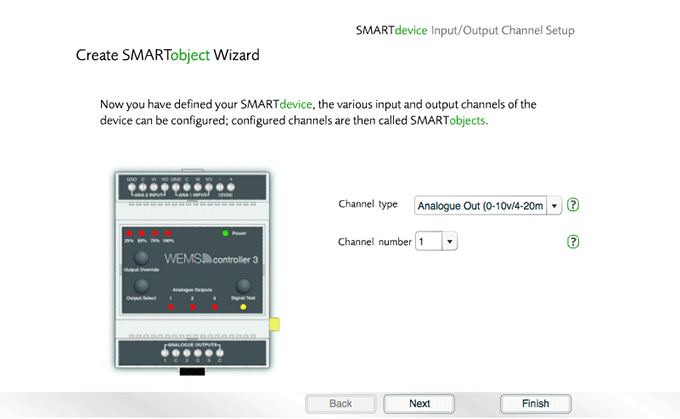
- Select the channel type as Analogue Out and select channel 1, then click .
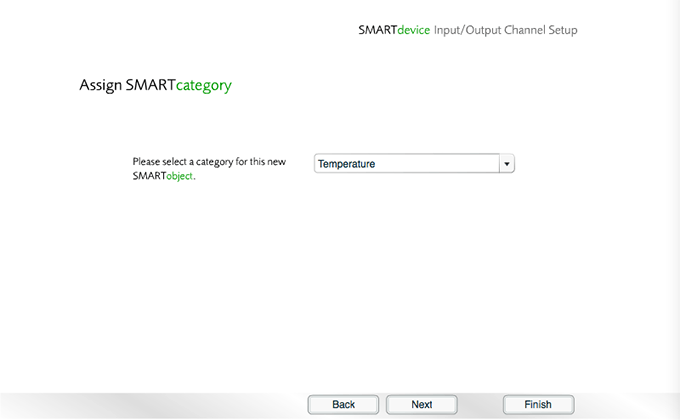
- Set the category to Temperature, and then click .
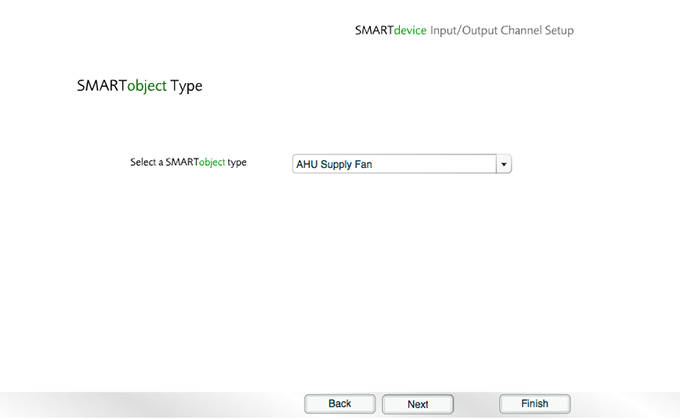
- Set the Object type as AHU Supply Fan, and then click .
The AHU Supply Fan is the only absolute requirement in setting up an AHU, but we would normally expect also to configure AHU Heating Stages and AHU Cooling Stages, as well as AHU Dampers (optional).
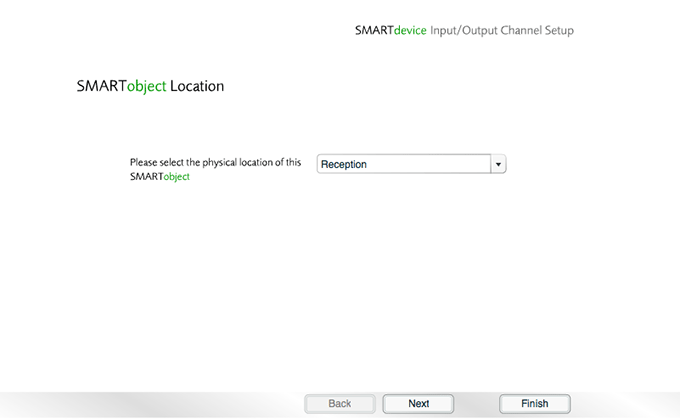
- Choose a location for the AHU Supply Fan, and then click .
- Click to the confirmation message.
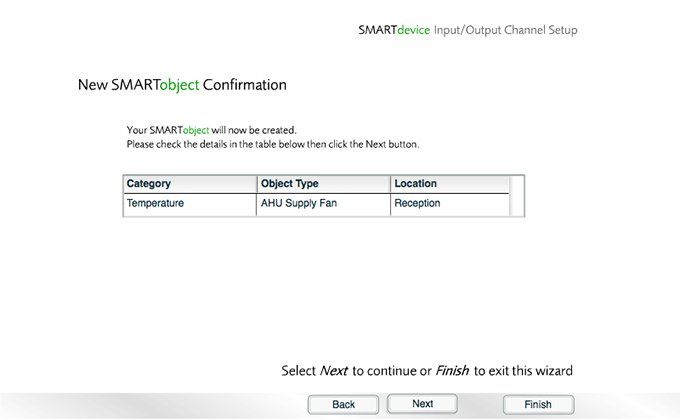
- Click to begin configuring the next channel.
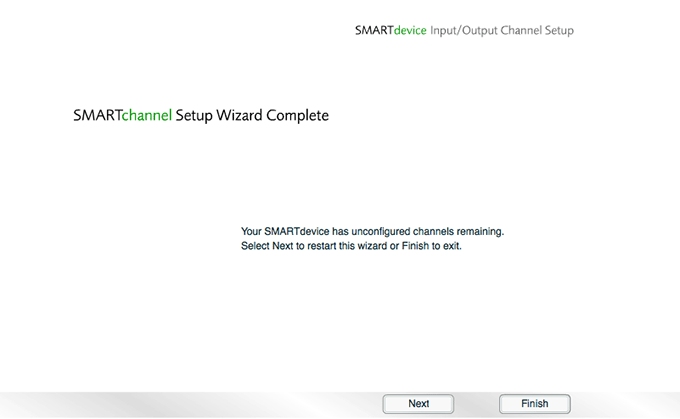
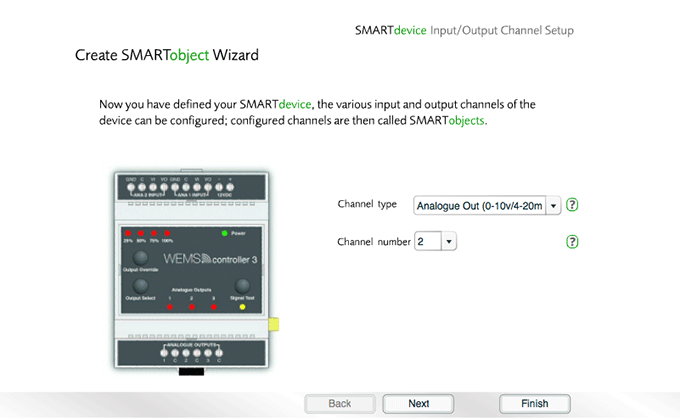
- Select the channel type as Analogue Out and select channel 2, then click .
- Set the category to Temperature, and then click .

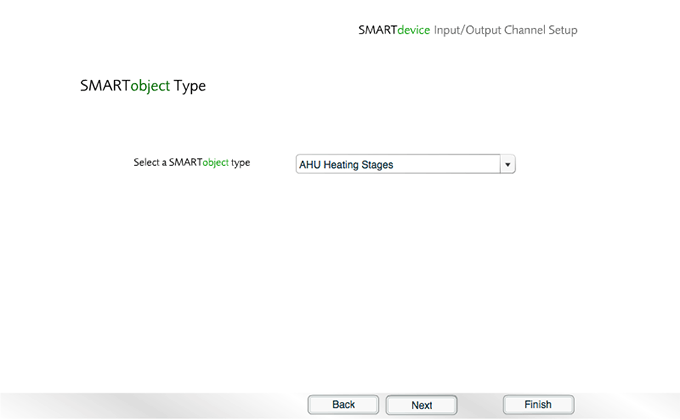
- Set the Object type to AHU Heating Stages.
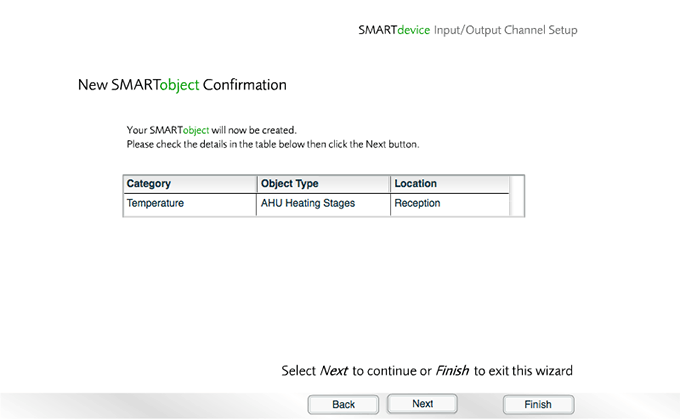
- Choose a location for the AHU Heating Stages, confirm and then click to begin configuring the next channel.
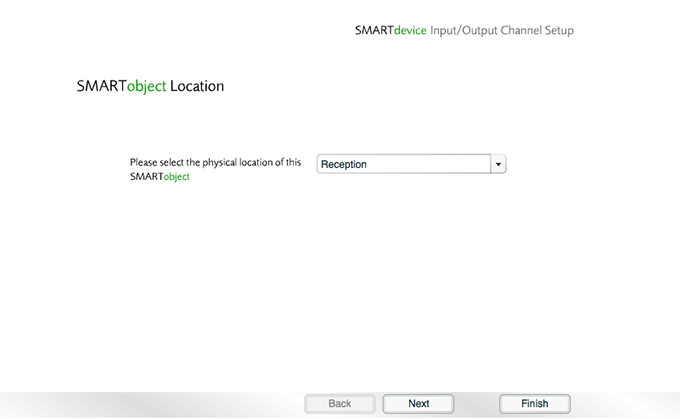
- Click to the confirmation message.
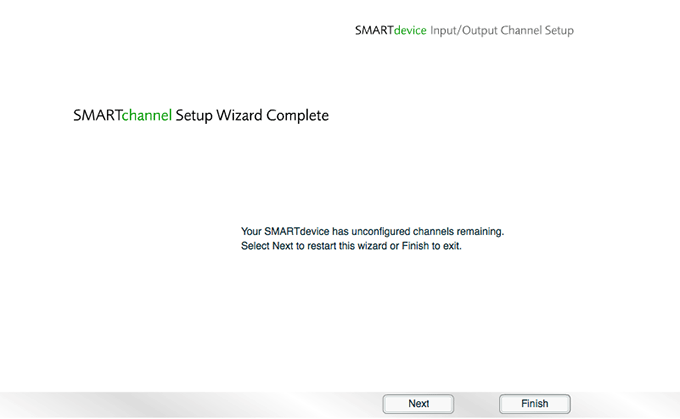
- Click to begin configuring the next channel.
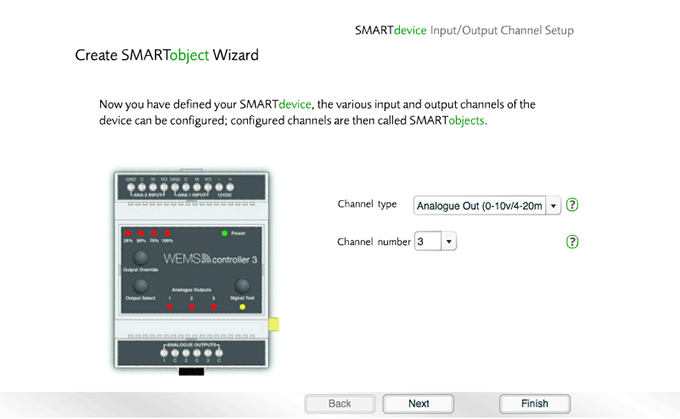
- Select the channel type as Analogue Out and select channel 3, then click .
- Set the category to Heating/Cooling, and then click .

- Set the Object type to AHU Cooling Stages.
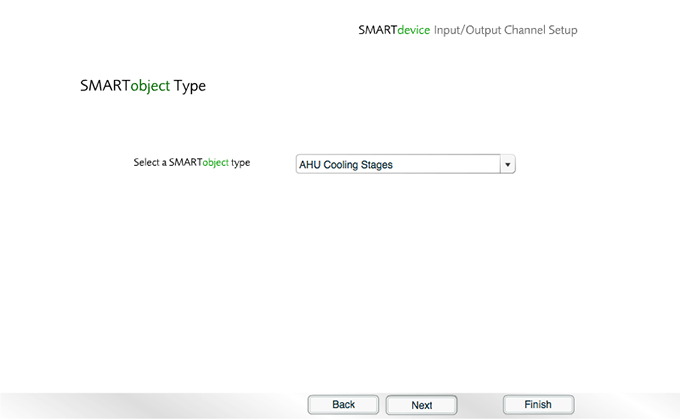
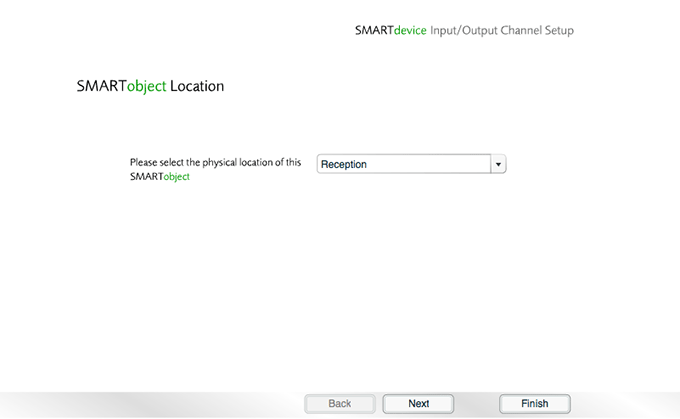
- Choose a location for the AHU Cooling Stages, confirm and then click to begin configuring the next channel.
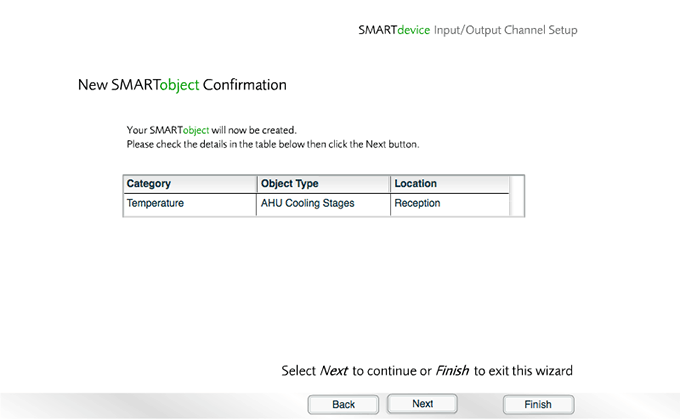
- Click to the confirmation message.
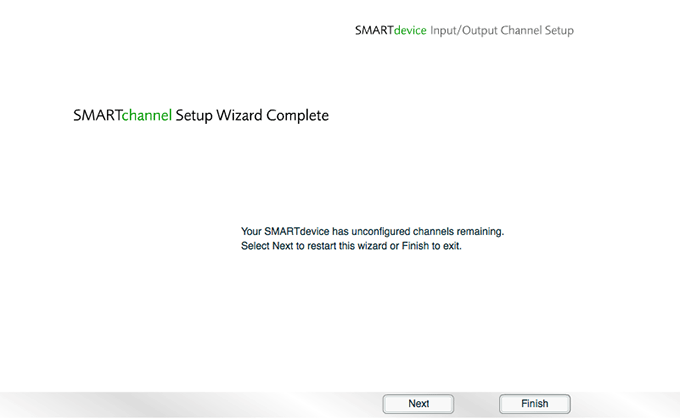
- Click to begin configuring the next channel.
Optionally, to allow finer control of the AHU, you can set up dampers to manage the recirculation of air in the system. For more information on dampers, see the Dampers page.
Next Step
The analogue outputs have now been configured.
The next step is to continue using the Channel Setup Wizard to Configure The Analogue Inputs.