- WEMScontroller3.
- Run Channel Setup Wizard To Configure Analogue Outputs.
- Run Channel Setup Wizard To Configure Analogue Inputs.
- Run AHU Discover Wizard.
- Configure AHU Control Points.
- Assign A Schedule To The AHU.
This guide covers the first-time setup of an AHU, and assumes that a WEMScontroller3 has already been discovered and set up and that the AHU Discover wizard has already been run.
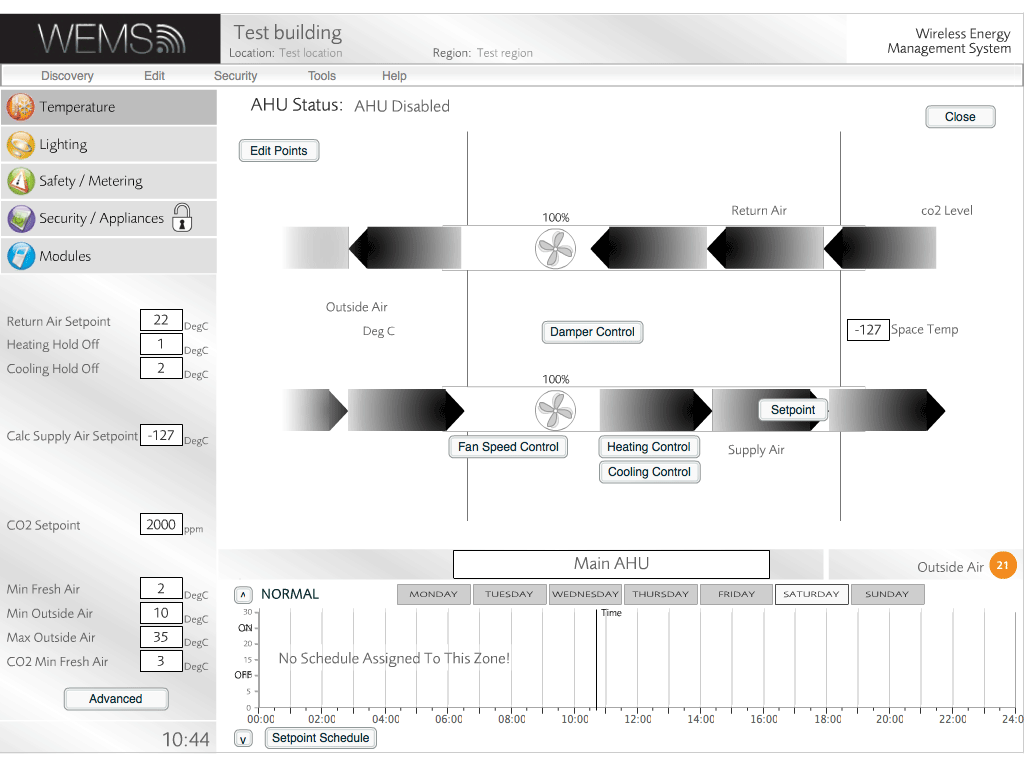
- In the Temperature Layer, click the new AHU icon, which will present the AHU Control Screen.

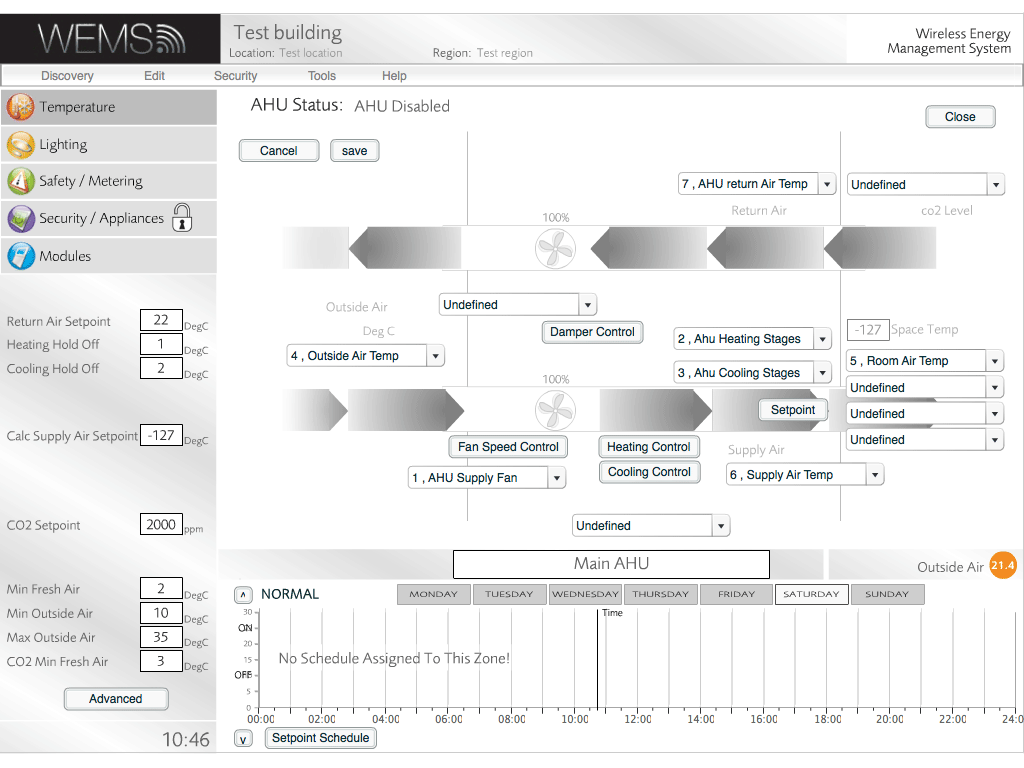
- Click , which will present a set of dropdown menus on the AHU display.
- Set the Return Air dropdown with the new Return Air Temp item.
- Set the Supply Air dropdown with new Supply Air Temp item.
- Set the Outside Air Temp. dropdown with existing or new Outside Air Temp.
- Optional: choose up to 4 room temperature measures in the dropdowns to the middle right in order to set up temperature averaging for the space temperature. Although only a single room temperature measurement is necessary, the performance of the system is likely to improve if multiple measurements are averaged.
- Set the Fan dropdown (underneath the button) with the new AHU Supply Fan item.
- Set the Dampers dropdown (above the button) with the new Damper item (if one was set up earlier; otherwise, ignore this dropdown).
- Set the Heating dropdown (to the right of the button) with the new AHU Heating Stages item.
- Set the Cooling dropdown (directly above the button) with the new AHU Cooling Stages item.

- Click .
- Optional: one further dropdown at the bottom of the screen measures the differential pressure across the incoming fan, to make sure that the fan is really running. This would need to be set up as another Object with a digital input.
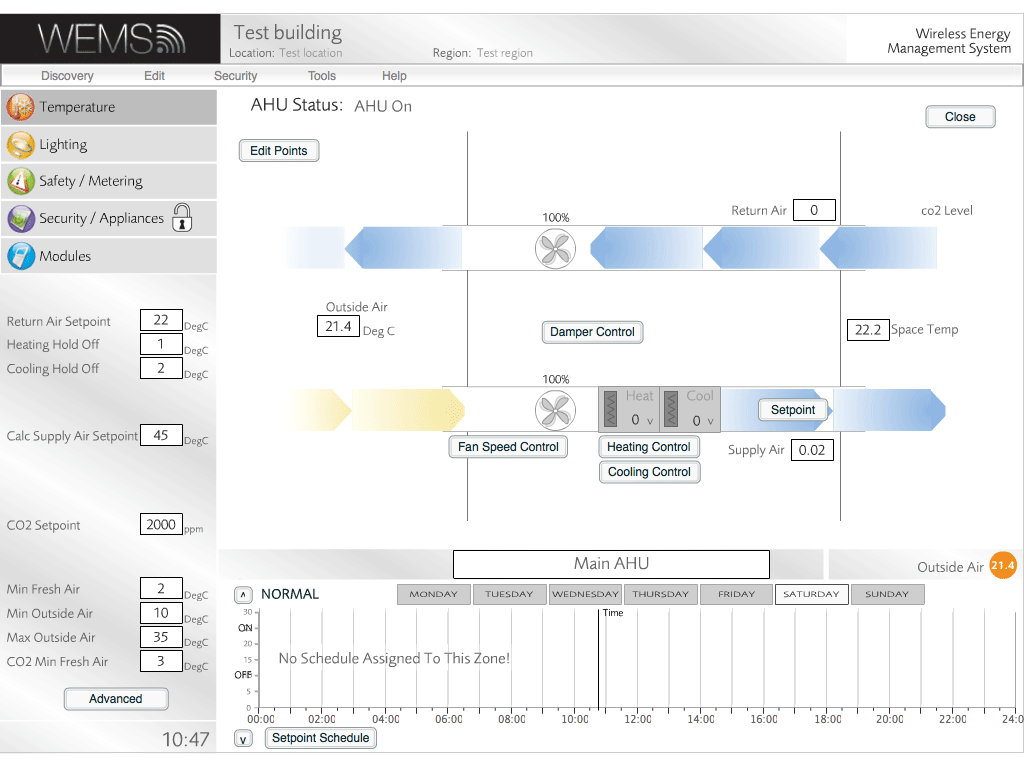
- Click to exit the AHU Control Screen.

Four additional buttons offer further AHU controls: , , and . Any changes to the default settings configured in these parts of the interface will require an administrator password (not the same as the login password). For more information on configuring these settings, see Control Point Graphs.
The AHU setup is now complete and you will now be returned to the Floorplan.
Final Step
The AHU control points have now been configured.
The final step is to Configure The AHU Schedule.