- WEMScontroller3.
- Run Channel Setup Wizard To Configure Analogue Outputs.
- Run Channel Setup Wizard To Configure Analogue Inputs.
- Run AHU Discover Wizard.
- Configure AHU Control Points.
- Assign A Schedule To The AHU.
This guide covers the first-time setup of an AHU, and assumes that a WEMScontroller3 has already been discovered and set up, that the AHU Discover wizard has been run and that the AHU control points have been defined.
The final step in getting the AHU to function as desired is to define a Schedule. AHUshave their own particular types of Schedule and are not controlled by a standard Heating Schedule alone. Instead, AHUs are controlled by two Schedules that work together: one to control on/off times, the other to control the temperature.
To configure a Schedule for the AHU, do the following:
- From the Floorplan, go to | .
- Select AHU/FanCoil in the top-left of the Schedules screen.
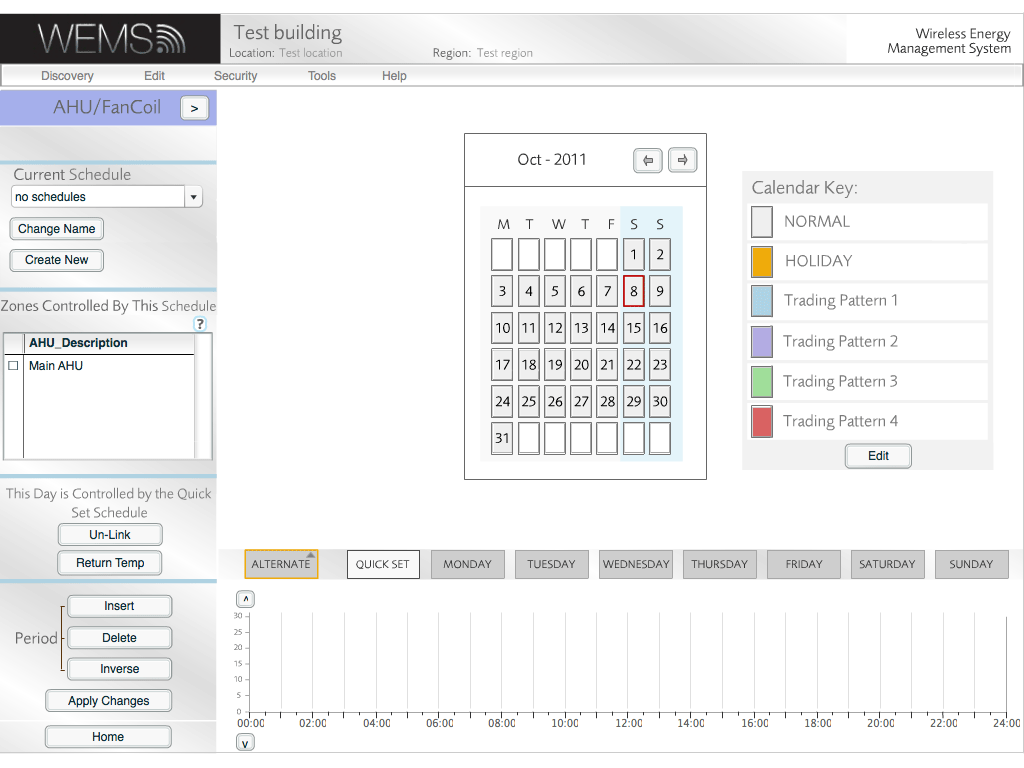
- Click to create a new Schedule.
- Enter a meaningful name for the Schedule, and then click .
- Set the Schedule's desired on/off times, using the arrow sliders on each of the red and green boxes.
Additional on/off periods can be added with the button and deleted with the button. The order of the on/off periods can be inverted by using the button.
- Tick the AHU in the AHU_Description box.
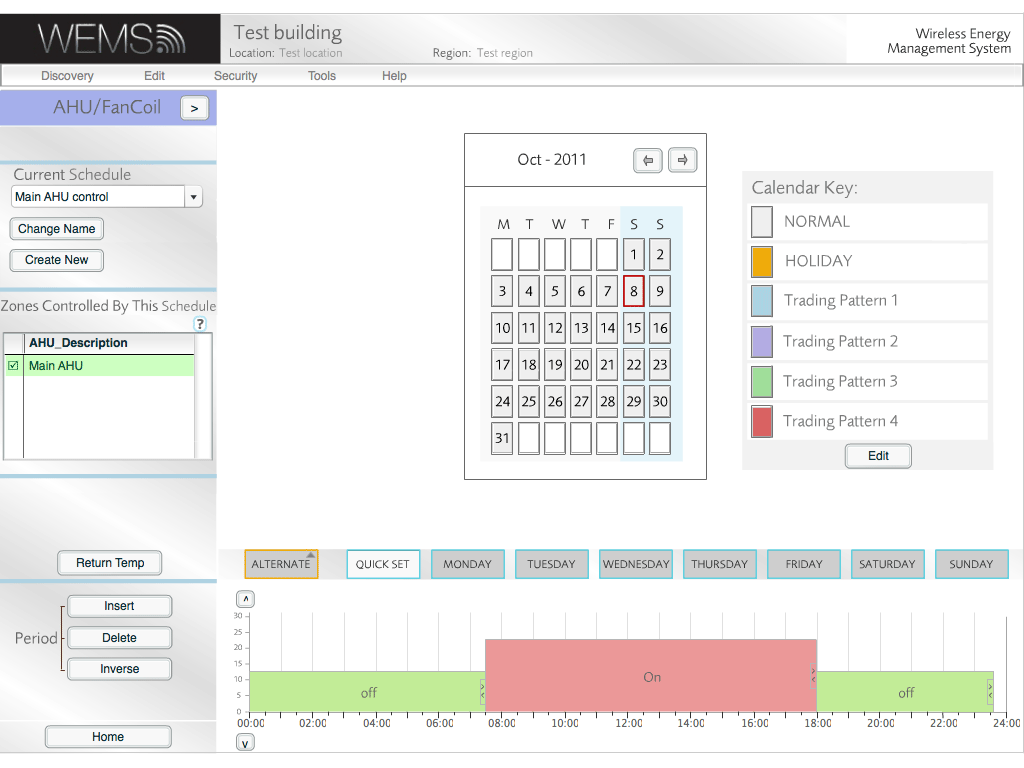
- Click the button. (The button will change to read , allowing toggling between both types of Schedule.)
- Click to create a new Schedule to control the desired return temperature.
- Enter a meaningful name for the Schedule, and then click .
- Set the desired return air temperatures.
- Tick the AHU in the AHU_Description box. (Even if the box appears ticked already, it can help to untick and retick it.)
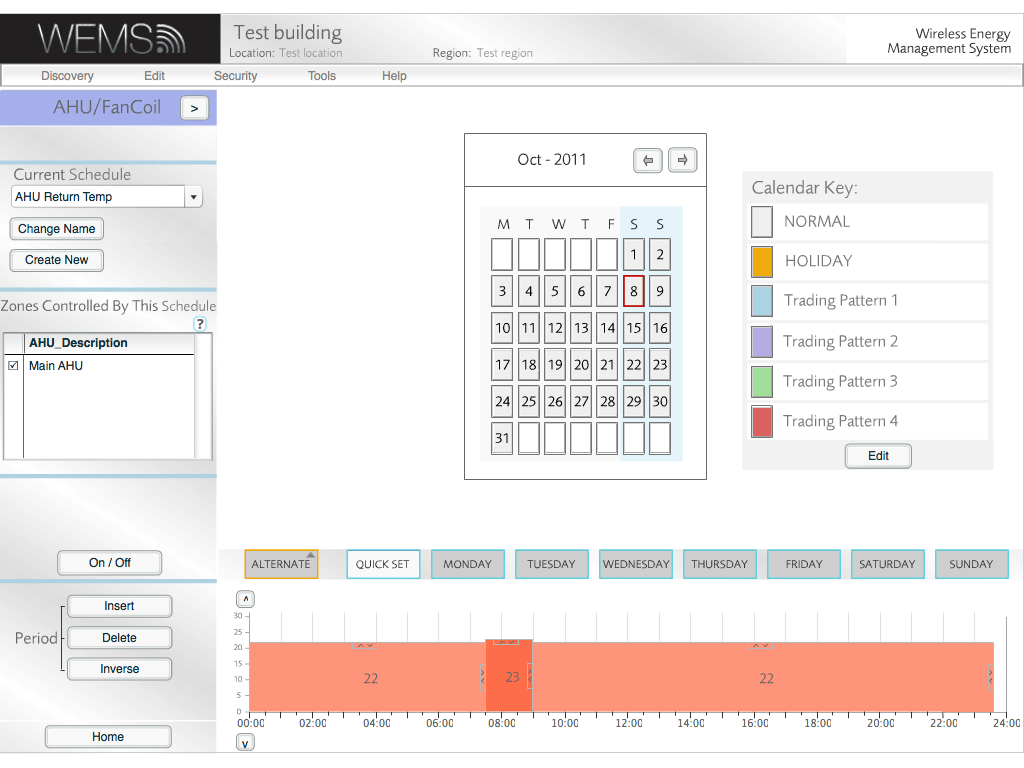
- Click to complete.
The Schedule setup is now complete and the view will be returned to the Floorplan.
Whenever the AHU is selected on the Floorplan, one of the two new Schedules will appear at the bottom of the AHU Control Screen. A button labelled either or will allow the view to be toggled between the two Schedules that control the AHU.
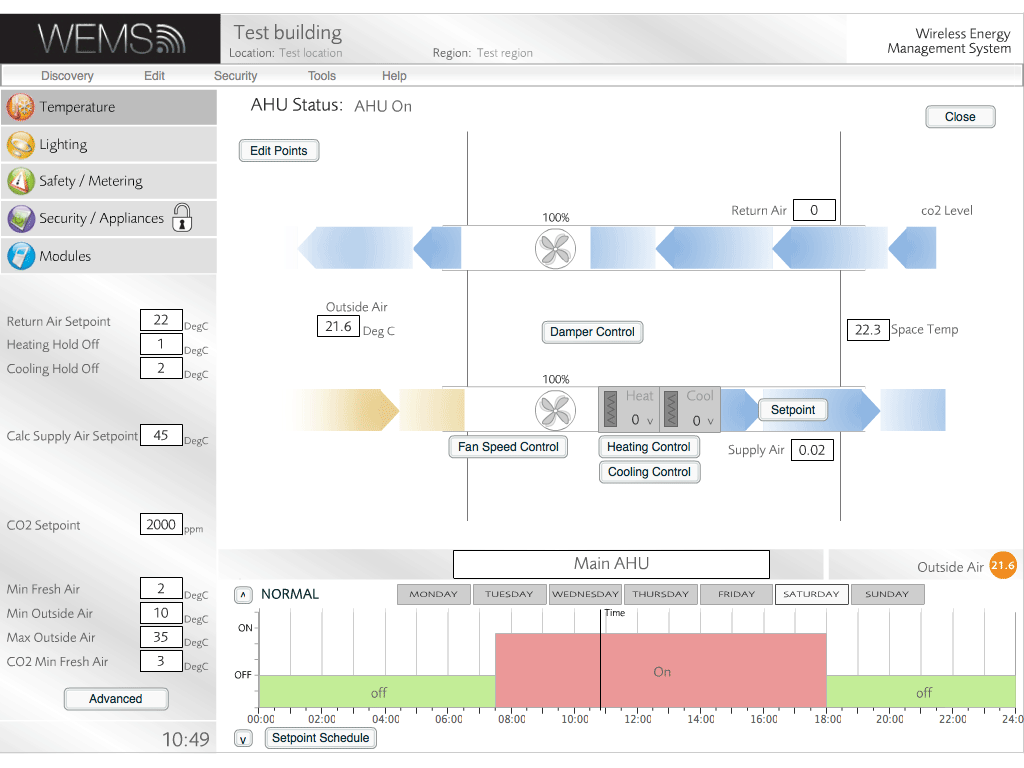
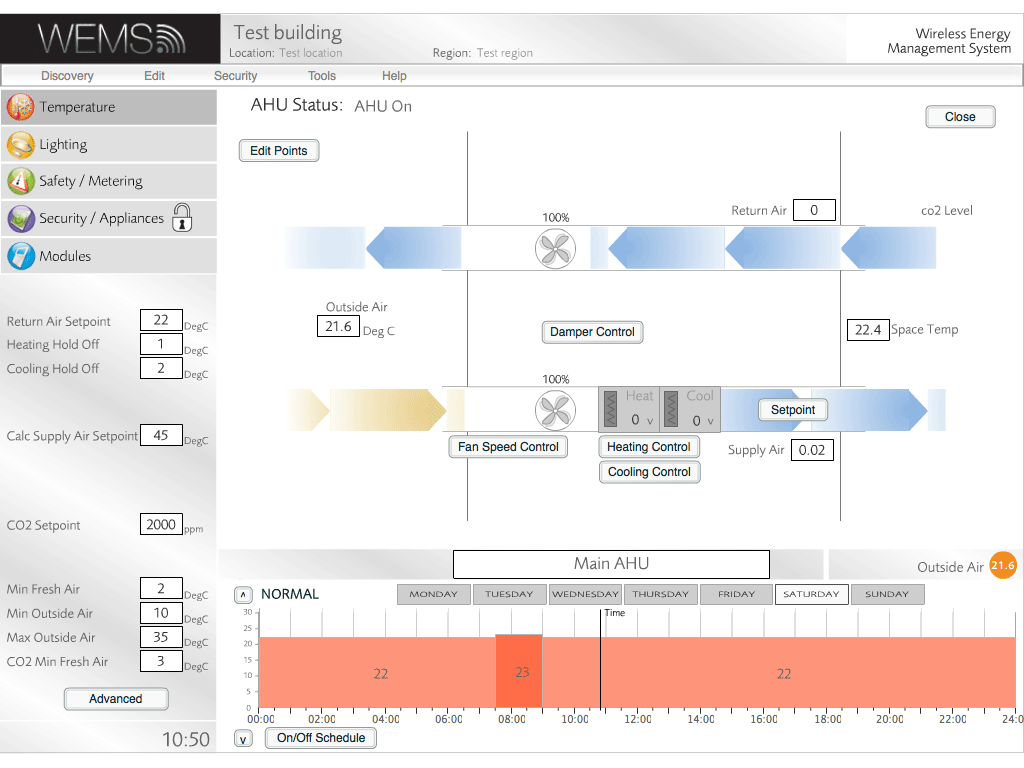
The AHU setup is now complete. For more details on how to control the operation of an AHU once it has been set up, see the AHU Configuration section.