The Temperature Layer is used to:
- view and control heat levels in each of the Heating Zones in the Floorplan.
- view the status of any Presence Detectors.
The Temperature Layer Floorplan shows all heating outputs and Presence Detectors on each Floor. To view a different Floor, use the left and right arrow buttons either side of the current Floor name.
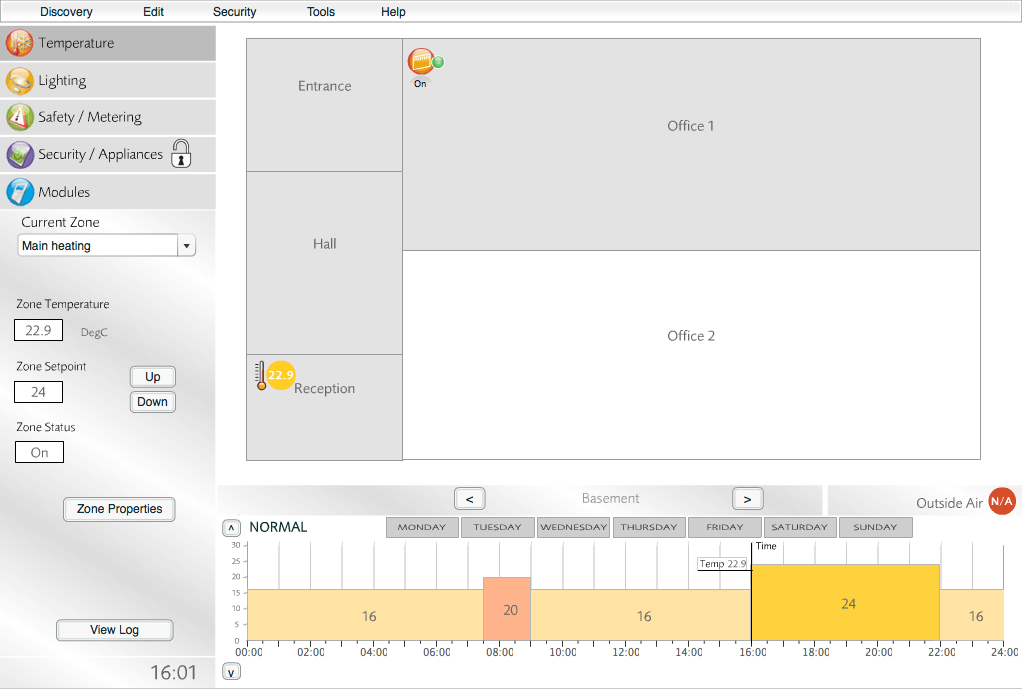
Temperature Layer
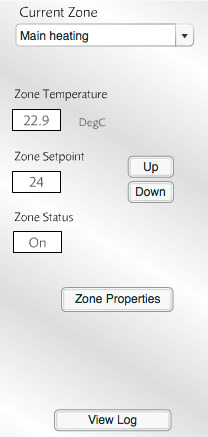
Temperature Layer Info Panel
The Temperature Layer Info Panel provides details about the selected SMARTheating Zone.
For more information about the Temperature Layer Info Panel, see Introduction To SMARTheating Zones and SMARTheating Zone Properties.
Heating Schedule
At the bottom of the Temperature Layer is the Heating Schedule that applies to the selected SMARTheating Zone. Click the button labelled with a day of the week to view the Heating Schedule for that day.

Heating Schedule
Logs
When a SMARTheating Zone is selected, click the button in the Temperature Layer Info Panel to view a heating activity log.

Heating activity log of selected Zone
- Green blocks represent 'on' periods (heating outputs were active in the selected Zone).
- Grey blocks represent 'off' periods (heating outputs were inactive in the selected Zone).
When a heating Object is selected, click the button to display a temperature log for that Object. Temperatures as low as −39.9°C can be logged.
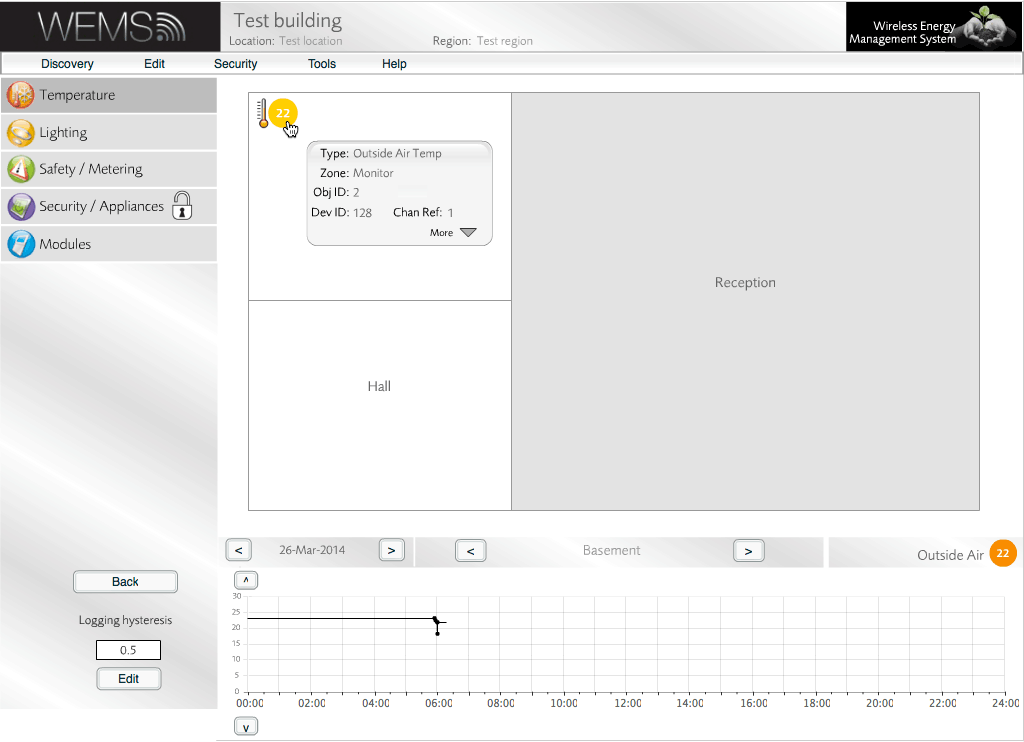
Temperature log
Use the | feature to view detailed logs.
Temperature Triggers
Some Objects such as temperature sensors support temperature triggers.
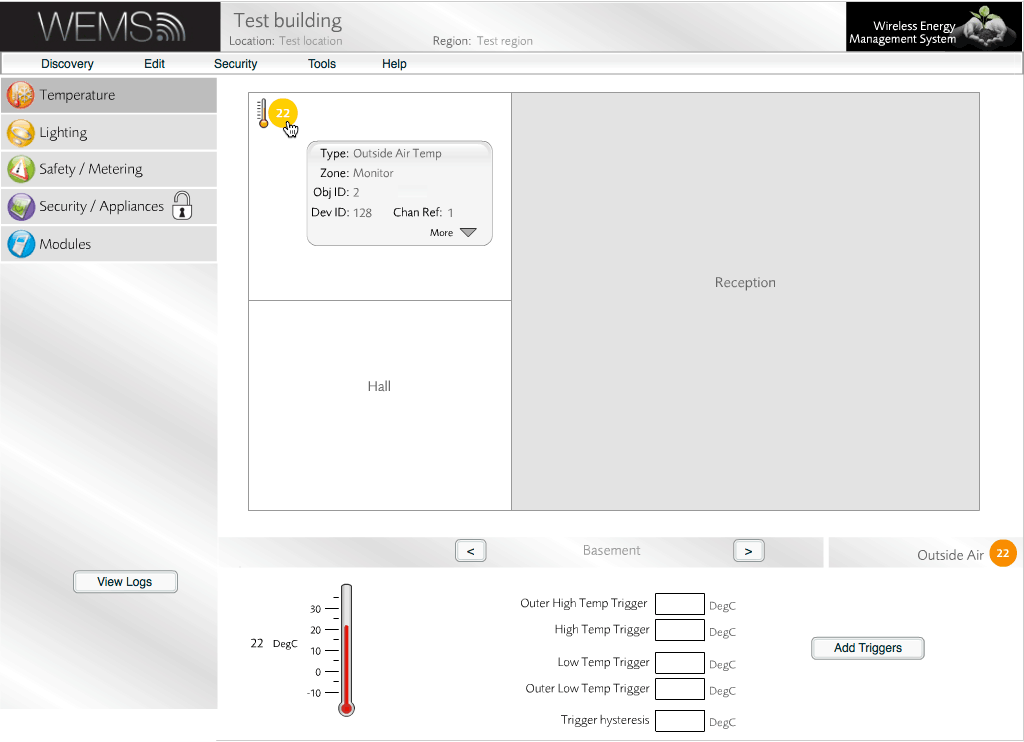
Temperature Layer
With an Object selected, click the button to assign default trigger values. Click the button to change the values.
Click the button to turn off triggering for the selected Object.
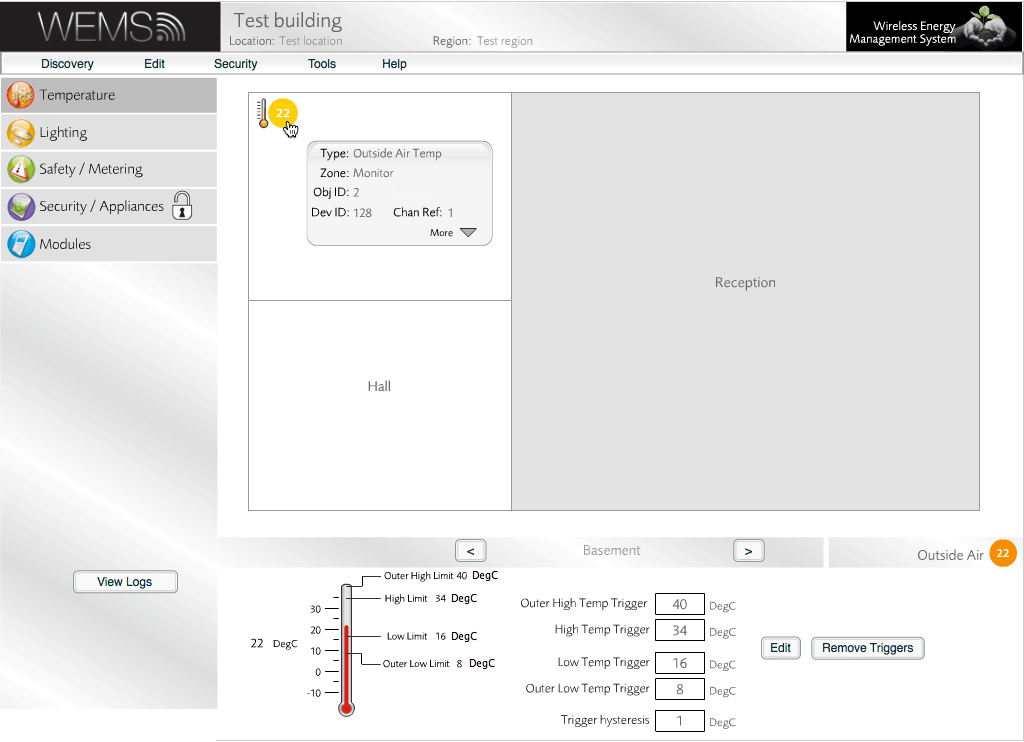
Temperature Layer
| Outer High Temp Trigger | Above this setpoint a critical high temp alarm is generated |
| High Temp Trigger | Above this setpoint a minor high temp alarm is generated |
| Low Temp Trigger | Below this setpoint a minor low temp alarm is generated |
| Outer Low Temp Trigger | Below this setpoint a critical low temp is generated |
| Trigger Hysteresis | The number of degrees the temperature has to go back below/above alarm setpoint to clear |