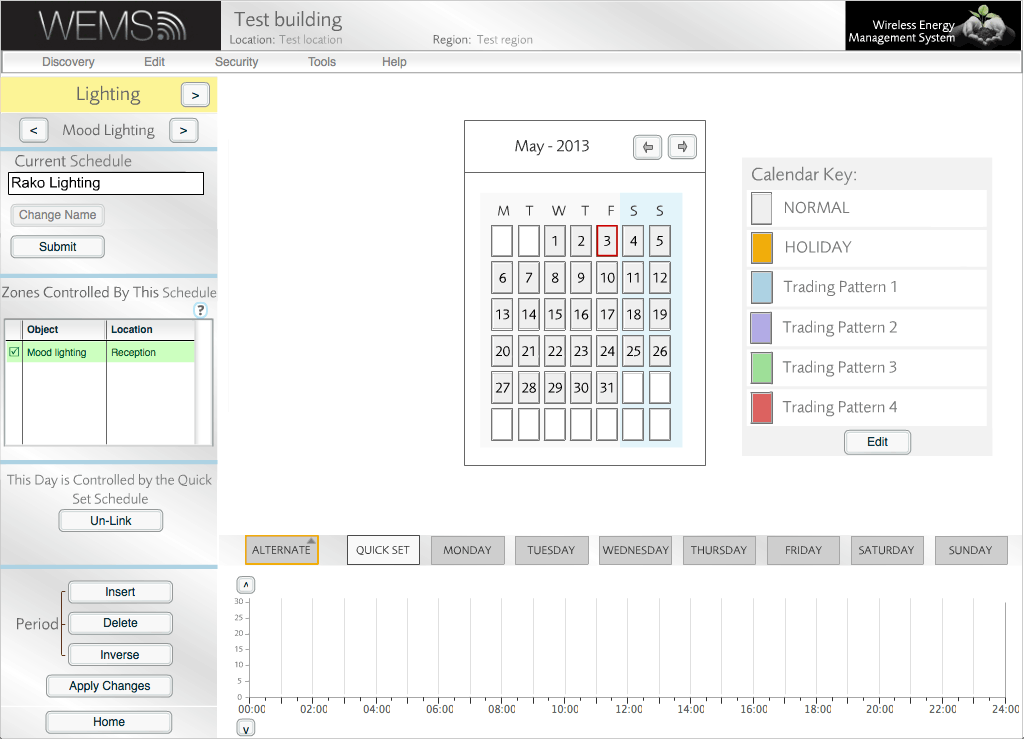
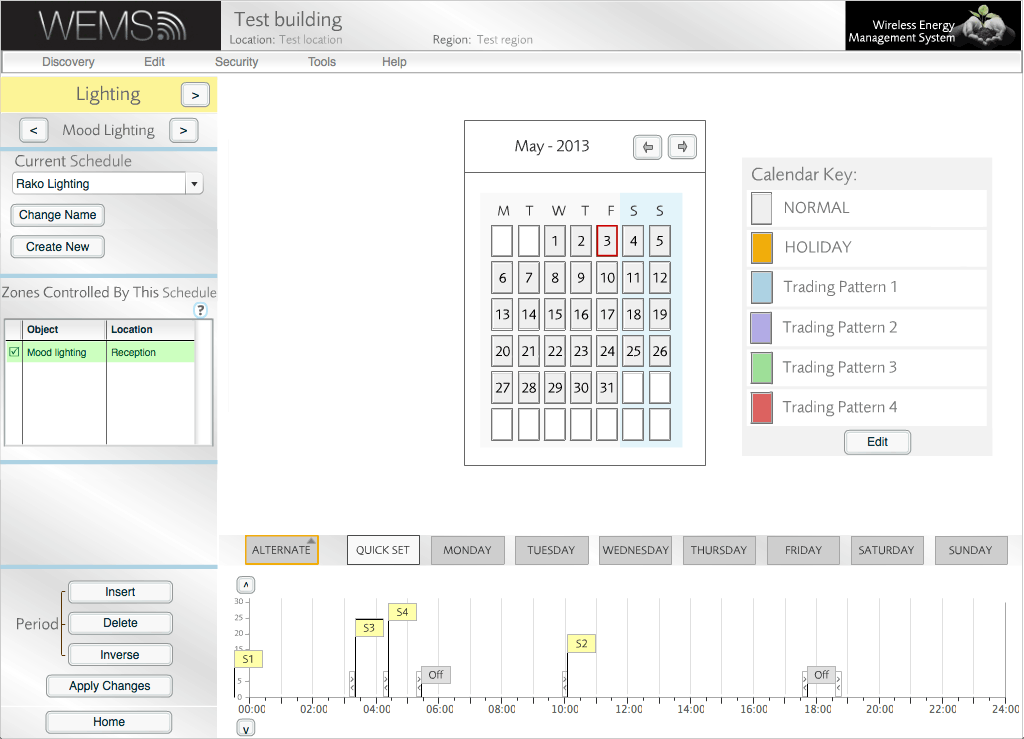
Rako devices cannot be assigned to a SMARTlighting Zone; however, it is possible to assign a Schedule to a Rako Object, to allow switching between lighting scenes at different times of day. This method does not offer any light-level control – it is simply a way of switching between pre-programmed settings on the Rako device.
Assigning A Schedule To A Rako Object
Before a Schedule can be assigned, make sure that the RakoSerial interface has been connected to the WEMSprogrammer and that the Rako Discover wizard has been run.
- Go to | .
- Choose Lighting from the menu in the top-left corner.
- Click the arrow to the left or right of the Zones heading, in order to choose the type of Object. In this case, select Mood Lights.
- Click .
- Enter a meaningful name for the new Schedule.

Creating a Rako Schedule
- Click .
- Click to add a new block to the Schedule graph.
- Choose the desired scene by dragging the block up and down (the Off position is at the bottom and scene 4 is at the top).

Creating a Rako Schedule
- Click to add further blocks to the graph and choose the desired scenes as appropriate.
- Tick the box for the Rako in the Object column (e.g. Mood Lights).
- Click to confirm the creation of the Schedule.