The user interface is the primary means for viewing and controlling the settings of the WEMS system.
This section shows an overview of each of the components that make up the user interface, with links to more detailed explanations of each section.
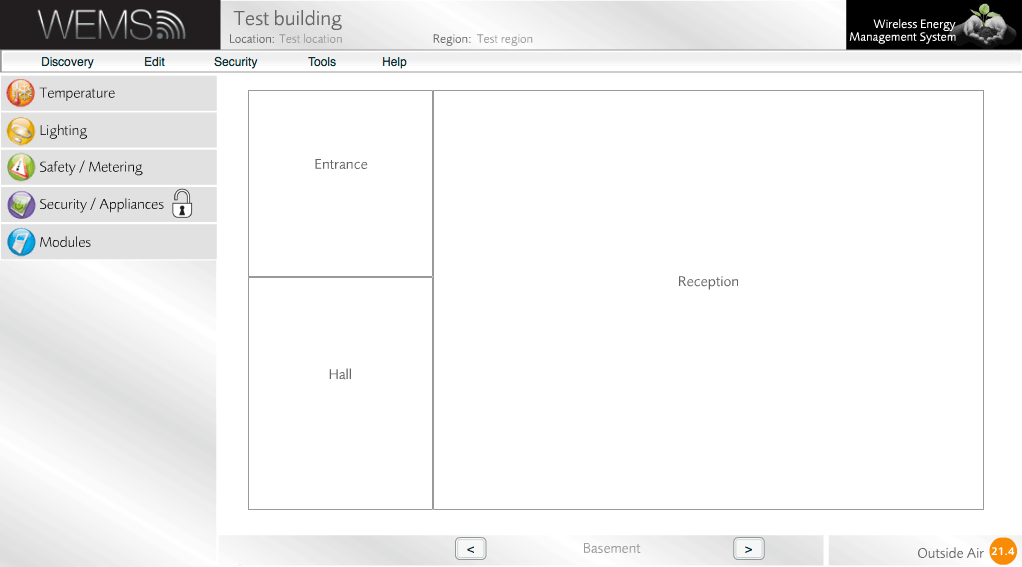
When the main user interface loads, it will look similar to the example shown below.

An example initial view of the main user interface
Below is a guide to each of the components that make up the main user interface.
Strapline
The strapline lists the values for building name, location and region that were specified when the Floorplan was created. This information can be useful to check, particularly when dealing with more than one property at the same time.

The strapline confirms the property being viewed
Menu Bar
The navigation menu that runs along the top of the user interface allows you to perform a number of common tasks, such as adding new devices/outputs to the Floorplan, editing Schedules and making backups. For more information, see the Introduction To The Navigation Menu.
Layers
The Layers panel allows you to view and control distinct features of the WEMS system, e.g. heating and lighting. Information relating to the selected Layer is overlaid on the Floorplan.
For more information, see the Introduction To Layers. To learn more about a specific Layer, click one of the options in the image below.

Click any Layer for more info
Floorplan
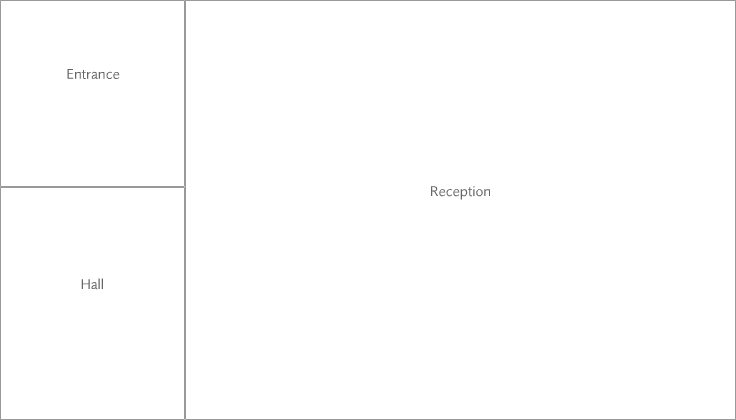
The majority of the user interface is taken up by the Floorplan, which shows the rooms that make up the currently selected Floor of the property. When the main user interface loads, the Floorplan will appear to contain empty rooms. To view the devices, sensors and outputs that are in the rooms, choose an option from the Layers panel.

A typical Floorplan. Rooms appear empty until a Layer is selected.
Floor Navigator And Outside Air Temp
Near the bottom of the user interface is the Floor Navigator, which shows the currently selected Floor as well as providing options to cycle through all Floors that have been defined in the property. In addition, the Outside Air Temp (in degrees Celsius) is shown on the right of the line. If an Outside Air Temp sensor has not been defined, a red circle is displayed.

Floor Navigator and Outside Air Temp
